Dear All,
Once a scientist, always a scientist! :D So, when I got stuck trying to explain to a student how the various "parameters" of a double diagonal fringed flower correlate with the way the flower turns out to be, I had to sit down and assign terms to various parameters.
I don't know if someone else has done it already but I would go ahead and post a detailed one anyway. Please please refer to the
original tutorial by
Inna Dorman for these flowers.
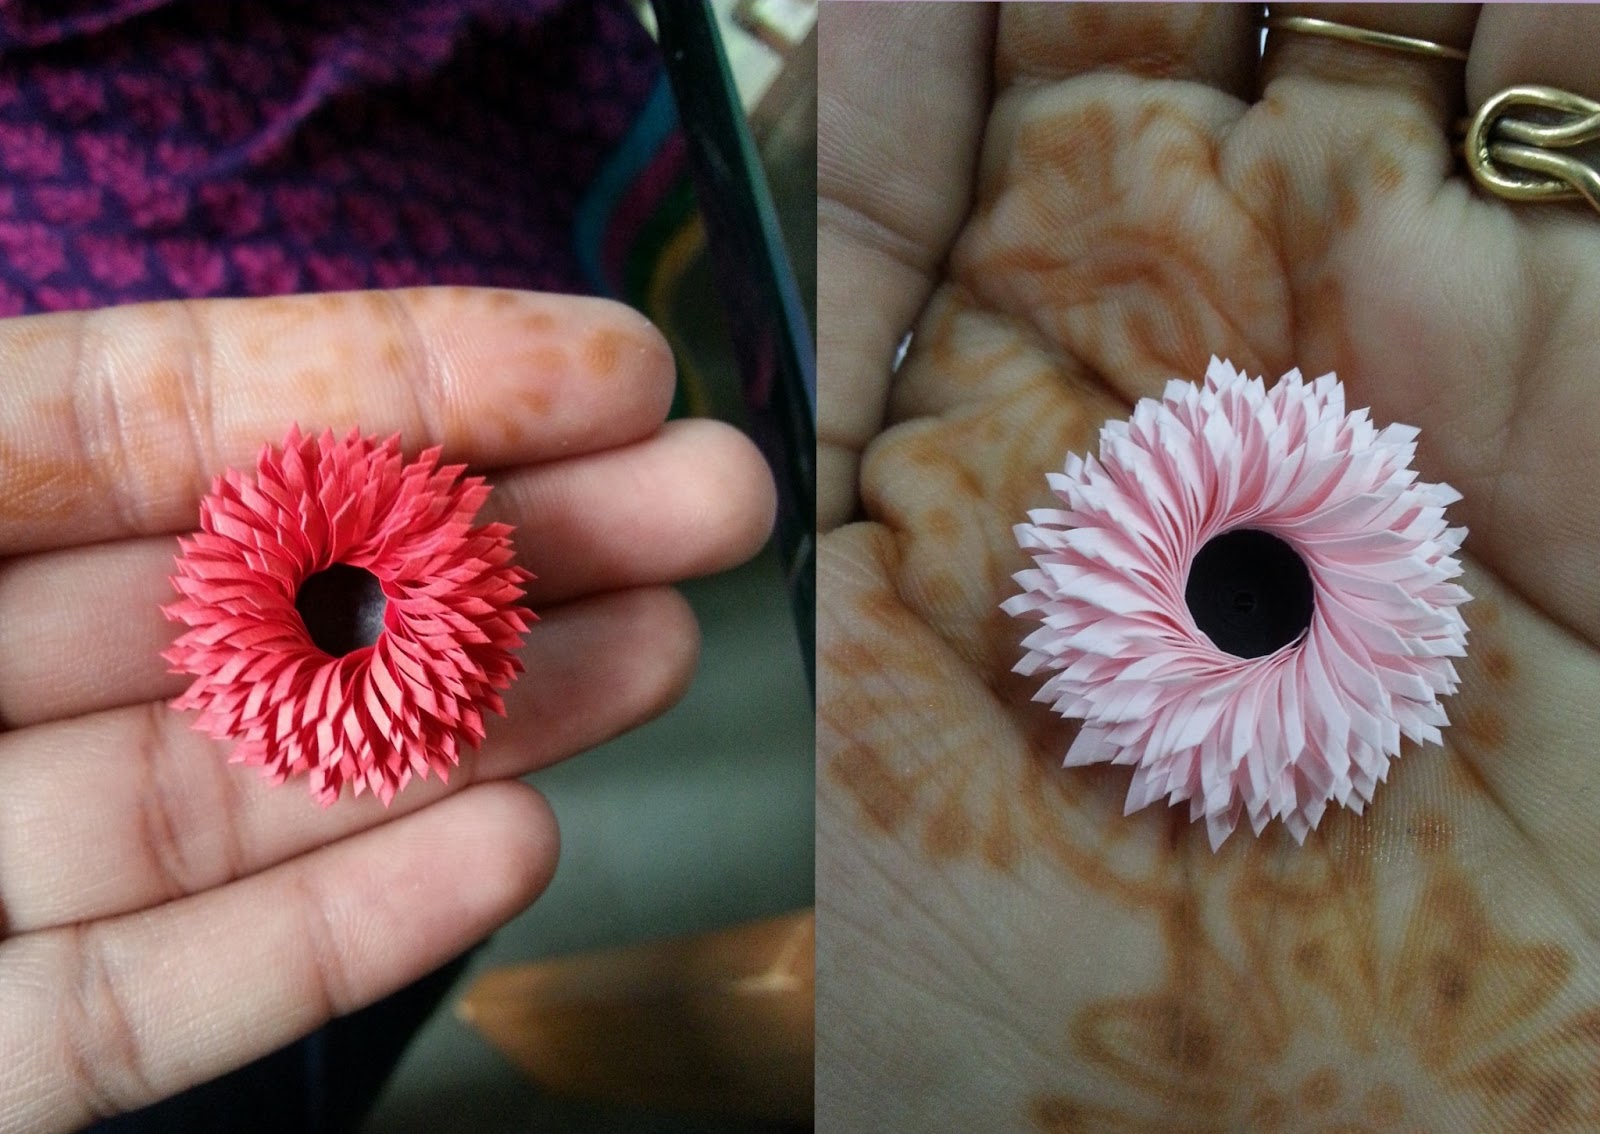
Please feel free to ask for clarifications, if anything is not clear from the images and text. As you'll see in the tutorial made by Inna, this flower needs a paper strip to be folded horizontally and then, fringed. The image below is a very loose representation of the folded paper and puts a name to the various factors that affect how the flower turns out to be:
Now, coming to the explanation of various terms and how they influence the flower:
1. Fold width: Fold width is the width one gets after folding a long paper strip horizontally. The "diameter" of the final flower is determined most directly by the fold width. The resulting flower will at least be double the number of the fold width (e.g. if the fold width is 1 cm, the resultant flower will be at least 2 cm in diameter). Also, the more the folding width, the more the length of the strip will be needed for making a "fuller" looking flower. E.g. if the fold width is 1 cm, a 30 cm strip is enough to make a full looking flower. If the fold width is doubled to 2 cm, the length of the folded paper needed nearly doubles as well.
2. Fringing angle: Fringing angle is the angle at which you fringe. The smaller the fringing angle, the wider the flower will get. A nearly ideal angle to follow would be 45 degrees, but it is not mandatory. In my experience, this leads to best looking flowers. The smaller the angle the longer the paper you'll need as it takes more paper to give a fuller look to bigger flower. This is probably the most crucial of all factors in making a diagonal double fringed flower. While you fringe,
maintain this angle constant for all fringes, or else, the flower will have uneven petals.
3. Fringing length: Fringing length is the total length of the cut made with scissors. For the same fold width, the smaller the fringing angle, the longer the fringe width will be. The longer the fringe width, the bigger the flower will be.
4. Fringing depth: Fringing depth is the horizontal distance between the folded edge and the end of the fringe cuts made. Fringing depth is directly correlated with the diameter of the eventual flower, in the sense that the deeper you cut (with everything else remaining the same), the bigger the flower becomes.
5. Fringing width: Fringing width is the width of each cut made while fringing. The smaller the fringe width, the easier it will be to get a Chrysanthemum like fullness to the flower. Making the fringe width too small, however, makes the flower lose its charm of two layers of paper opening up as you fringe. Around 1.5 mm gives a very full look to flowers.
Some pointers from experience:
- As you quill the double fringed layers, they tend to become cone like. The handling of the layers gets very tricky then. So, while making large double fringed flowers, take special care that the roll doesn't open up.
- Too small a fringing angle (highly slanted cuts) increases the fringe length substantially and makes the flower big really fast. Try to keep the angle about as close to 45 degrees as you can manage to. It makes the flower look extremely good at the end.
- While starting rolling, try to keep the fringe cuts oriented such that the slant of the fringes is towards your left (for right handed people, that is). This will make sure the fringed cuts don't get entangled in your fingers as you roll). Thanks to Shweta Hardikar, she helped me figure this one out.
- After the flower is ready, you can press the central tight coil (if you used one) and also, gently press the petals to bring everything to level.
- The flower assumes a dome like shape as you go on rolling. That makes it susceptible to opening up if not handled correctly.
- Glue at every 1 or 2 turns (Inna already tells you that through her tutorial). It helps make sure that the entire roll doesn't come off if the paper slips out of your hand.
I have tried to keep it as comprehensive and simple as I could manage to. Please feel free to correct me or ask me anything that is not clear. I may not reply immediately but reply I shall :)
Happy Quilling
Pritesh